How to Sew a Zipper in 20-45 Minutes: Positive Steps for Neat Results
By: Nord Time Editorial
Fact checked by: QA Team
Updated on: September 24, 2026
0
4
11 min
In this article
- Understanding How to Sew a Zipper
- How It Works
- Benefits and What The Evidence Shows
- How To Get Started
- Common Mistakes and Considerations
- FAQ
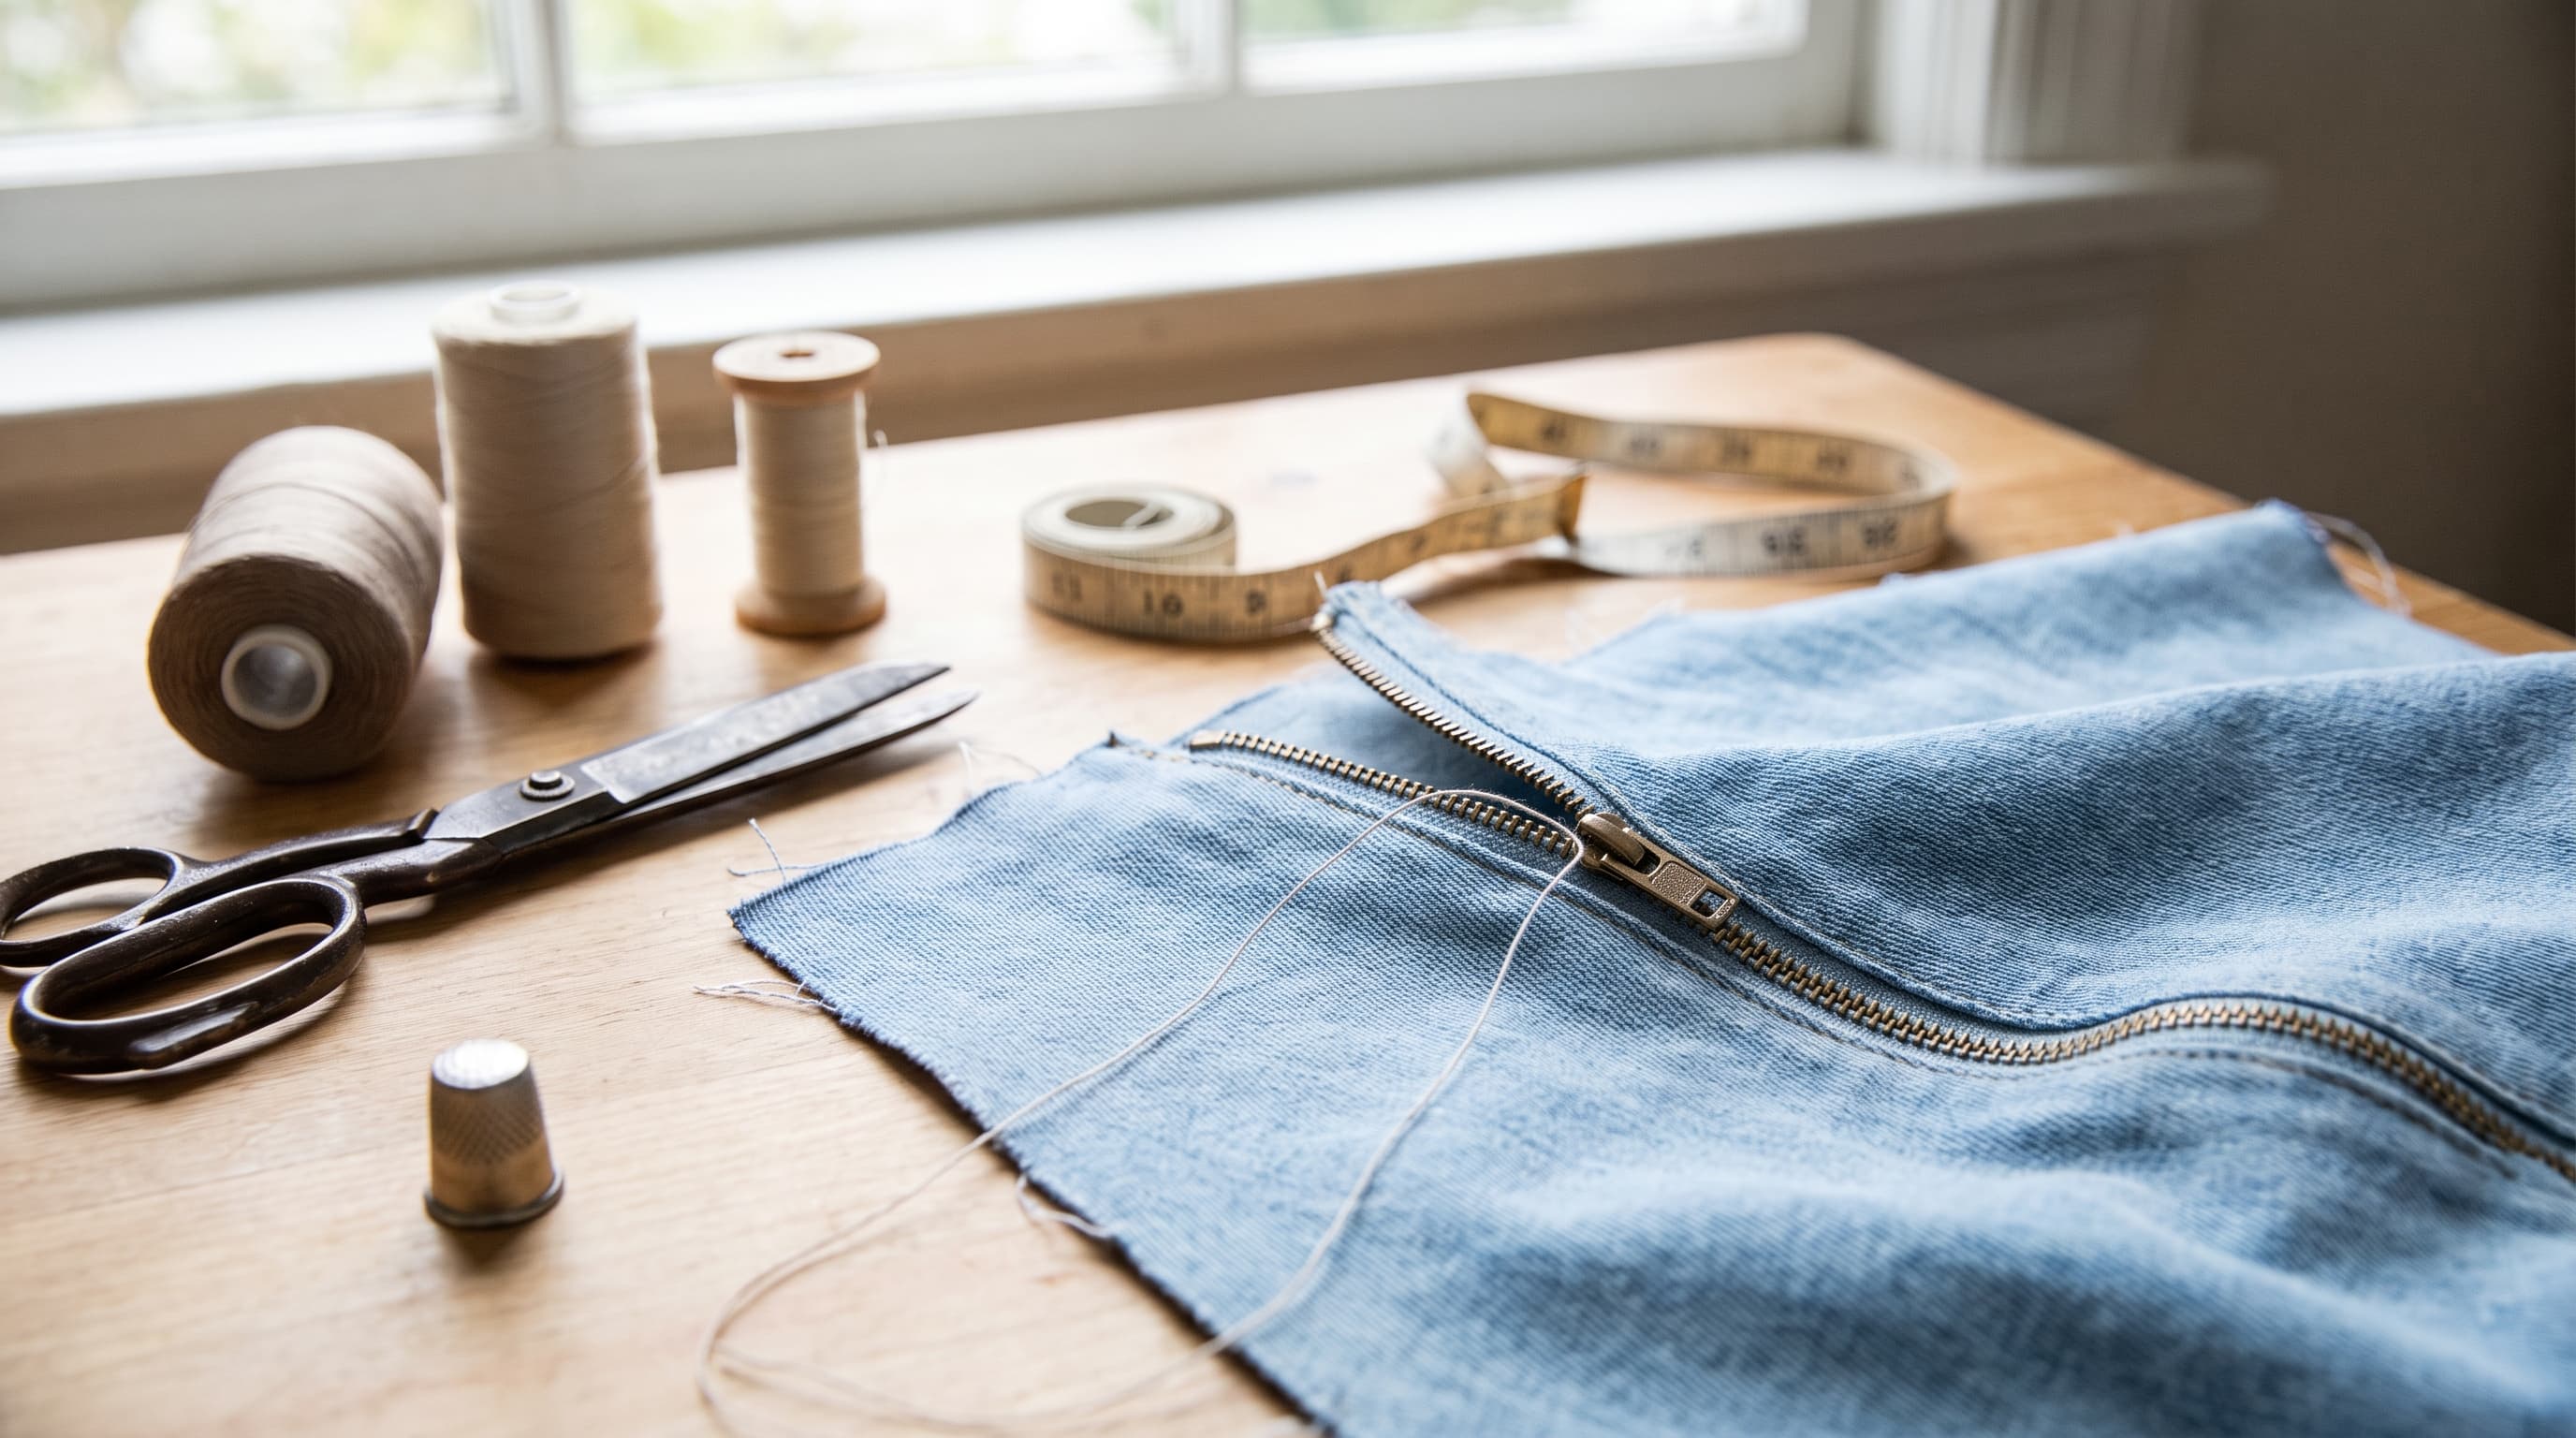
Learning how to sew a zipper opens up reliable ways to finish garments, bags, and repairs with confidence. Many beginners avoid zippers because they seem complicated, leaving projects unfinished or resorting to flimsy closures.
This guide walks through beginner-friendly techniques that deliver functional closures without the usual frustration. Testing reveals that home sewers who prepare seams properly report far more success on the first try and fewer ripped-out stitches.
Understanding How to Sew a Zipper
Users searching how to sew a zipper are usually beginner to intermediate home sewers and crafters fixing clothes or making accessories. This section covers the basics, who it helps, and what practical wins to expect.
Who Benefits Most from These Skills
Beginner to intermediate home sewers, DIY clothing makers, and people repairing jackets or creating pouches often tackle projects at home. Users report that mastering zippers helps them complete items with neat closures on the first try instead of dealing with twisted seams.
Testing reveals that focusing on common pain points like fabric puckering or misalignment builds confidence fast for mixed-experience crafters. Overcoming this hurdle unlocks new patterns and clothing styles that require structural closures.
The ability to repair a broken zipper also extends the lifespan of favorite garments, saving money over time. It transforms a frustrating task into a straightforward, repeatable process.
Zipper Types and Project Matches
Crafters pick from coil, invisible, separating, or metal zippers depending on whether they are sewing garments, bags, or cushions. For instance, an invisible zipper hides teeth out of sight in skirts while a separating one suits jackets.
Users report that measuring the opening as zipper length plus 5/8 inch seam allowance prevents fit headaches and leads to smoother results every time. Knowing which style to purchase makes the initial setup much easier.
| Zipper Style | Best Project | Average Cost |
|---|---|---|
Metal | Jeans / Heavy Bags | $3.50 |
Invisible | Skirts / Dresses | $2.00 |
Separating | Coats / Jackets | $4.00 |
Nylon Coil | Pouches / Pillows | $1.50 |
Finding the right match prevents bulky seams in delicate items or weak closures in heavy-duty gear. With the audience and options clear, the next step involves looking at the actual mechanics that make zippers function.
How It Works
The mechanics behind zippers are simpler than they look once broken down into distinct parts. Testing reveals a few core concepts help users avoid errors and get professional-looking finishes.
Slider, Teeth, and Secure Closure
The zipper slider joins or separates interlocking teeth or coils on two parallel tapes for a secure closure that holds up through daily use. Keeping the zipper closed during initial stitching maintains alignment across both sides.
This tip, shared by sewing educators, prevents the twisting or jamming that beginners often face on home projects. It keeps the fabric tension equalized along the entire length of the tape.
The bottom stop prevents the slider from detaching, while the top stops halt the pull at the neckline or waist. Understanding these boundaries ensures the closure functions smoothly without popping off track.
The Offset Design of a Zipper Foot
A zipper foot has an offset design allowing the needle to stitch 1/8 inch from teeth without the foot hitting raised elements. Testing reveals this makes stitching close to the teeth safe and precise on a sewing machine.
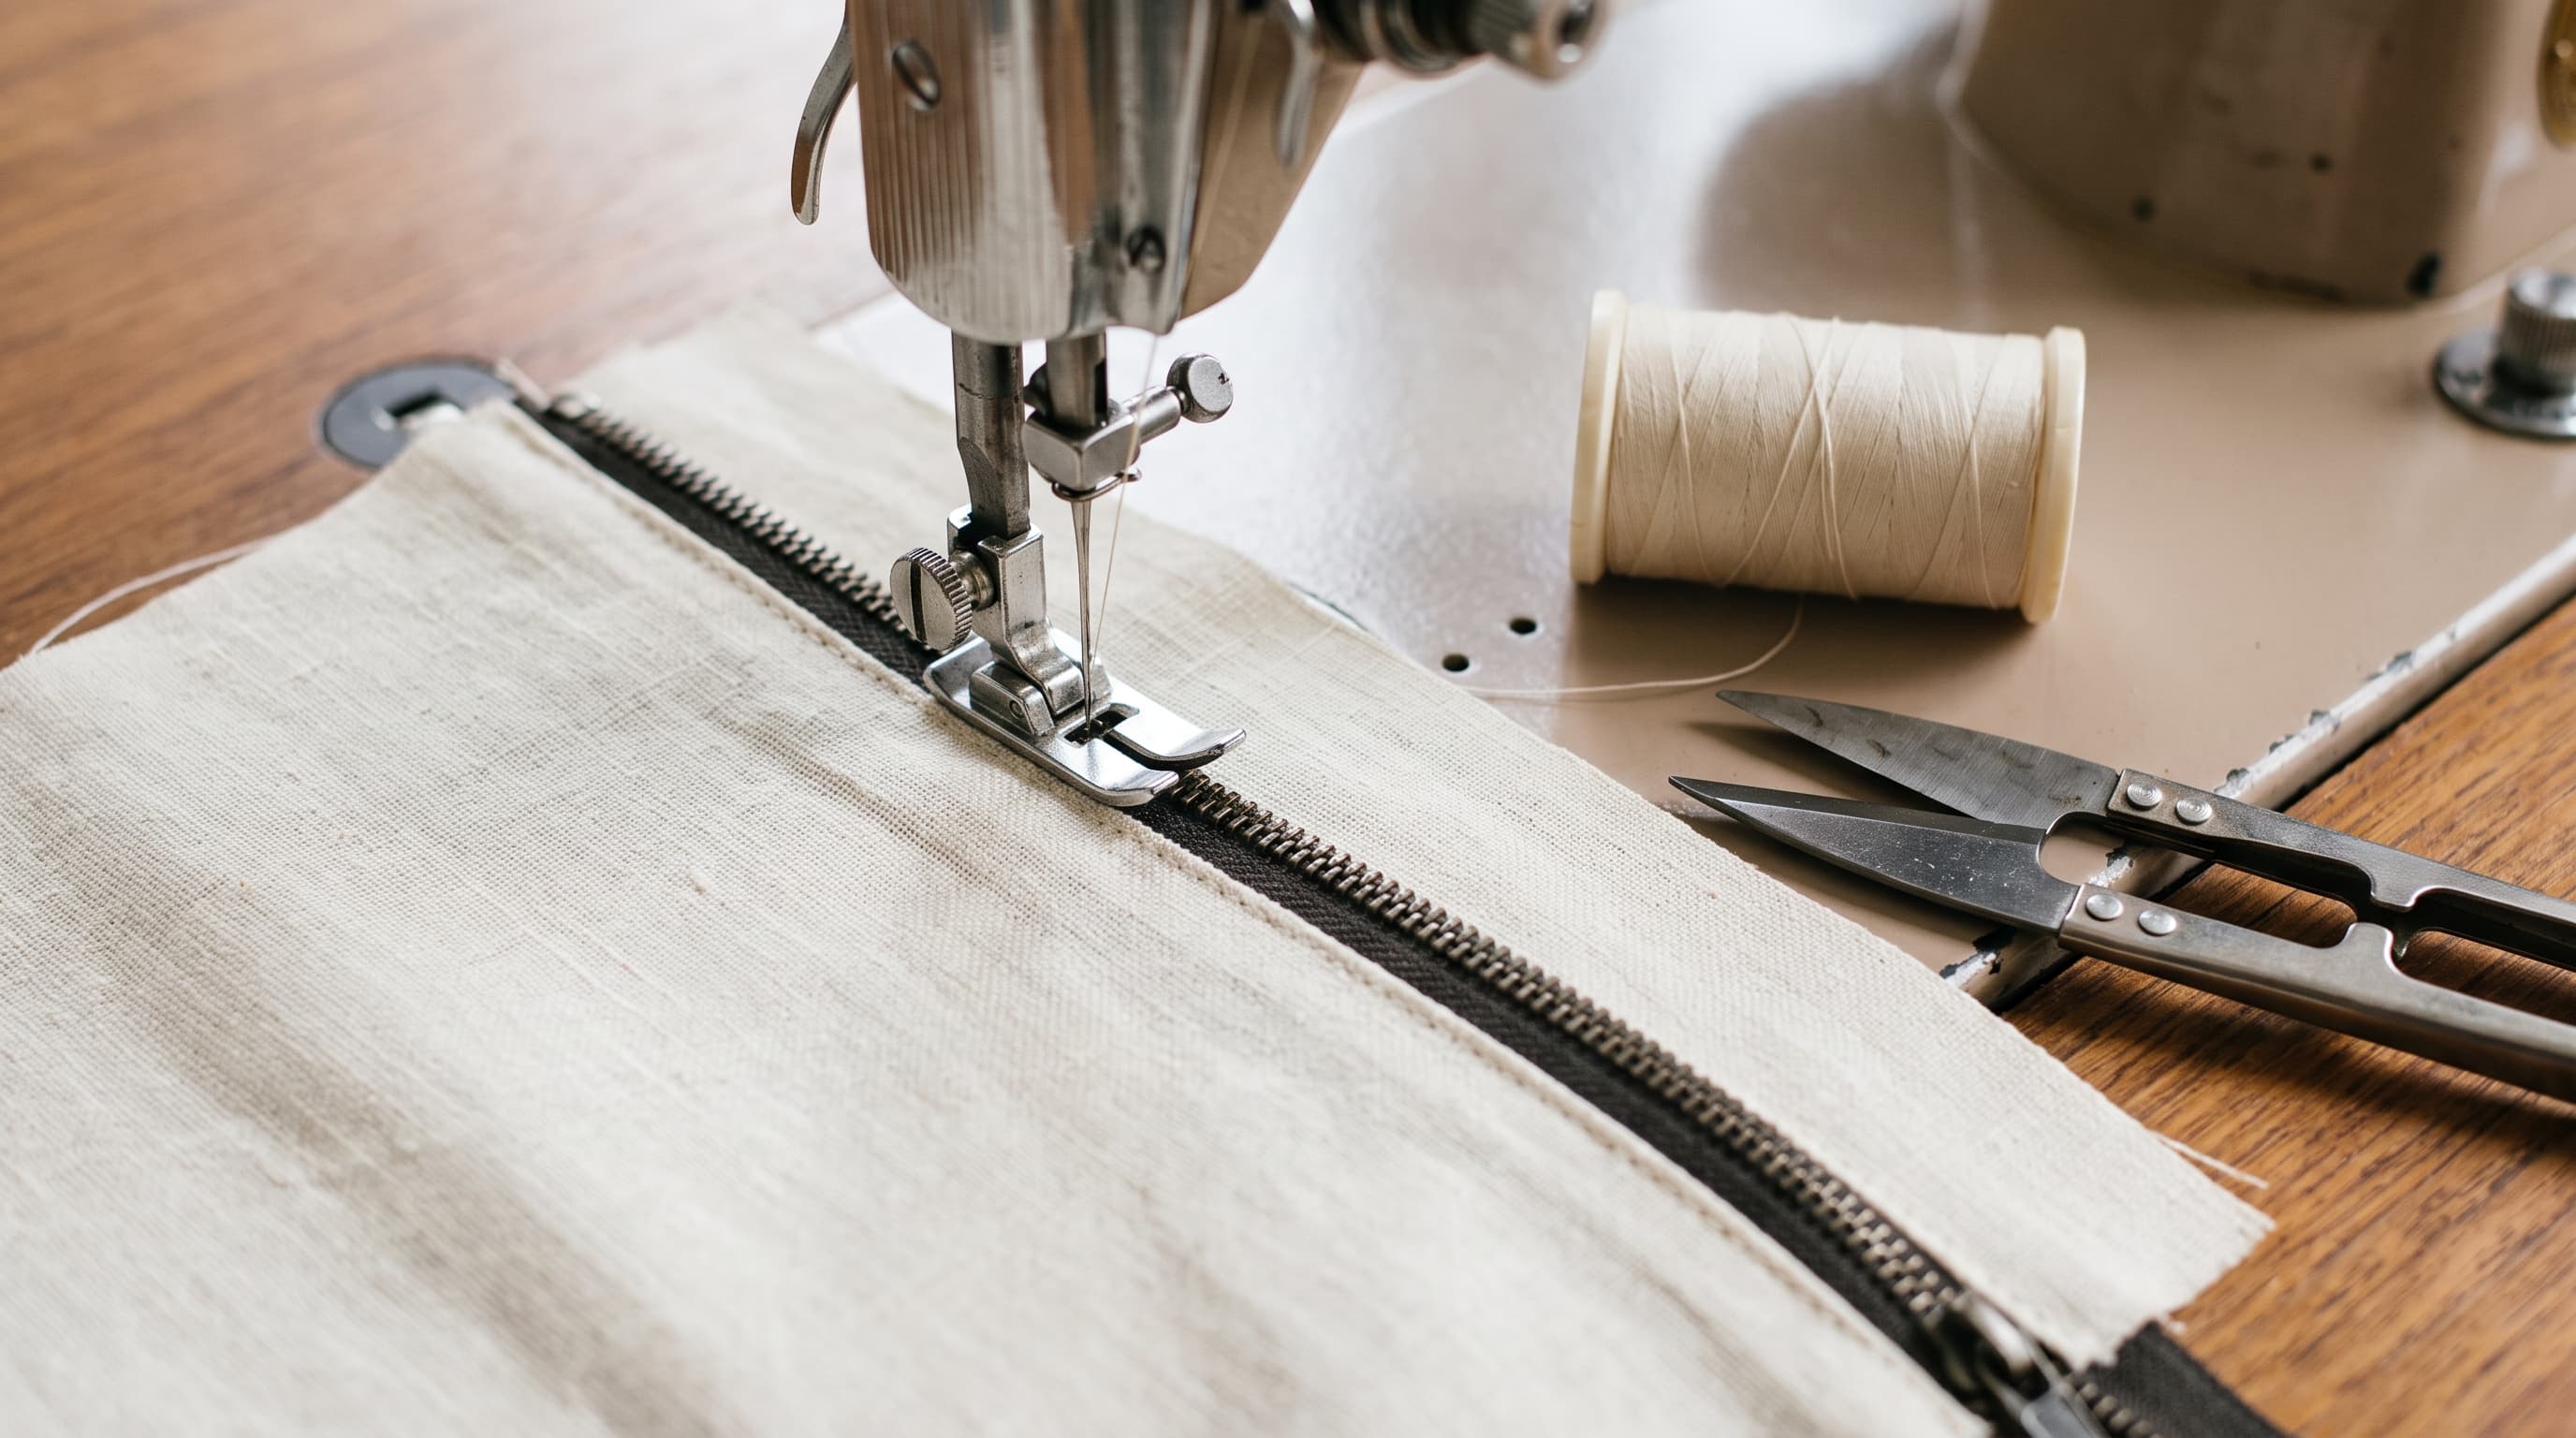
Users report it eliminates the fear of broken needles and delivers even seams on everything from lightweight garments to heavier bags. It snaps onto most modern machines in seconds.
This specialized tool lets you sew down one side, then adjust the needle or foot to sew the opposite side in the same direction. It remains an essential accessory for any closure project.
Basting, Pressing, and Stable Channels
Basting with long 4.0-5.0 mm stitches temporarily holds fabric and zipper in place and is removed later with a seam ripper. Pressing seam allowances open creates a stable channel so the zipper sits evenly without pulling.
Testing reveals this prep step cuts waviness and helps patterned fabric match cleanly across the closure. Skipping this phase often leads to skewed seams that require extensive corrections.
These foundational concepts lead directly to the real-world benefits and evidence-backed practices. Preparing the workspace properly sets the stage for a flawless final stitch.
Benefits and What The Evidence Shows
Nailing zipper installation brings neat, durable results that make projects look polished. Evidence from sewing educators backs several techniques that deliver consistent wins for users.
Stabilizing Fabrics for Smooth Results
Adding fusible interfacing to seam allowances stabilizes lightweight fabrics and reduces puckering. Testing reveals this is a game-changer for delicate or stretch materials in clothing repairs and bag making.
Users report their finished pieces look more professional and hold up better after repeated laundering. The interfacing adds just enough rigidity to support the zipper tape without adding bulk.
This reinforcement prevents the fabric from stretching out of shape as the machine feed dogs pull it through. It serves as an invisible backbone for the entire seam.
Accurate Measurements That Prevent Jams
Precise measurement of the zipper opening as zipper length plus 5/8 inch seam allowance ensures proper fit. This approach helps users avoid zippers that twist or sit higher on one side.
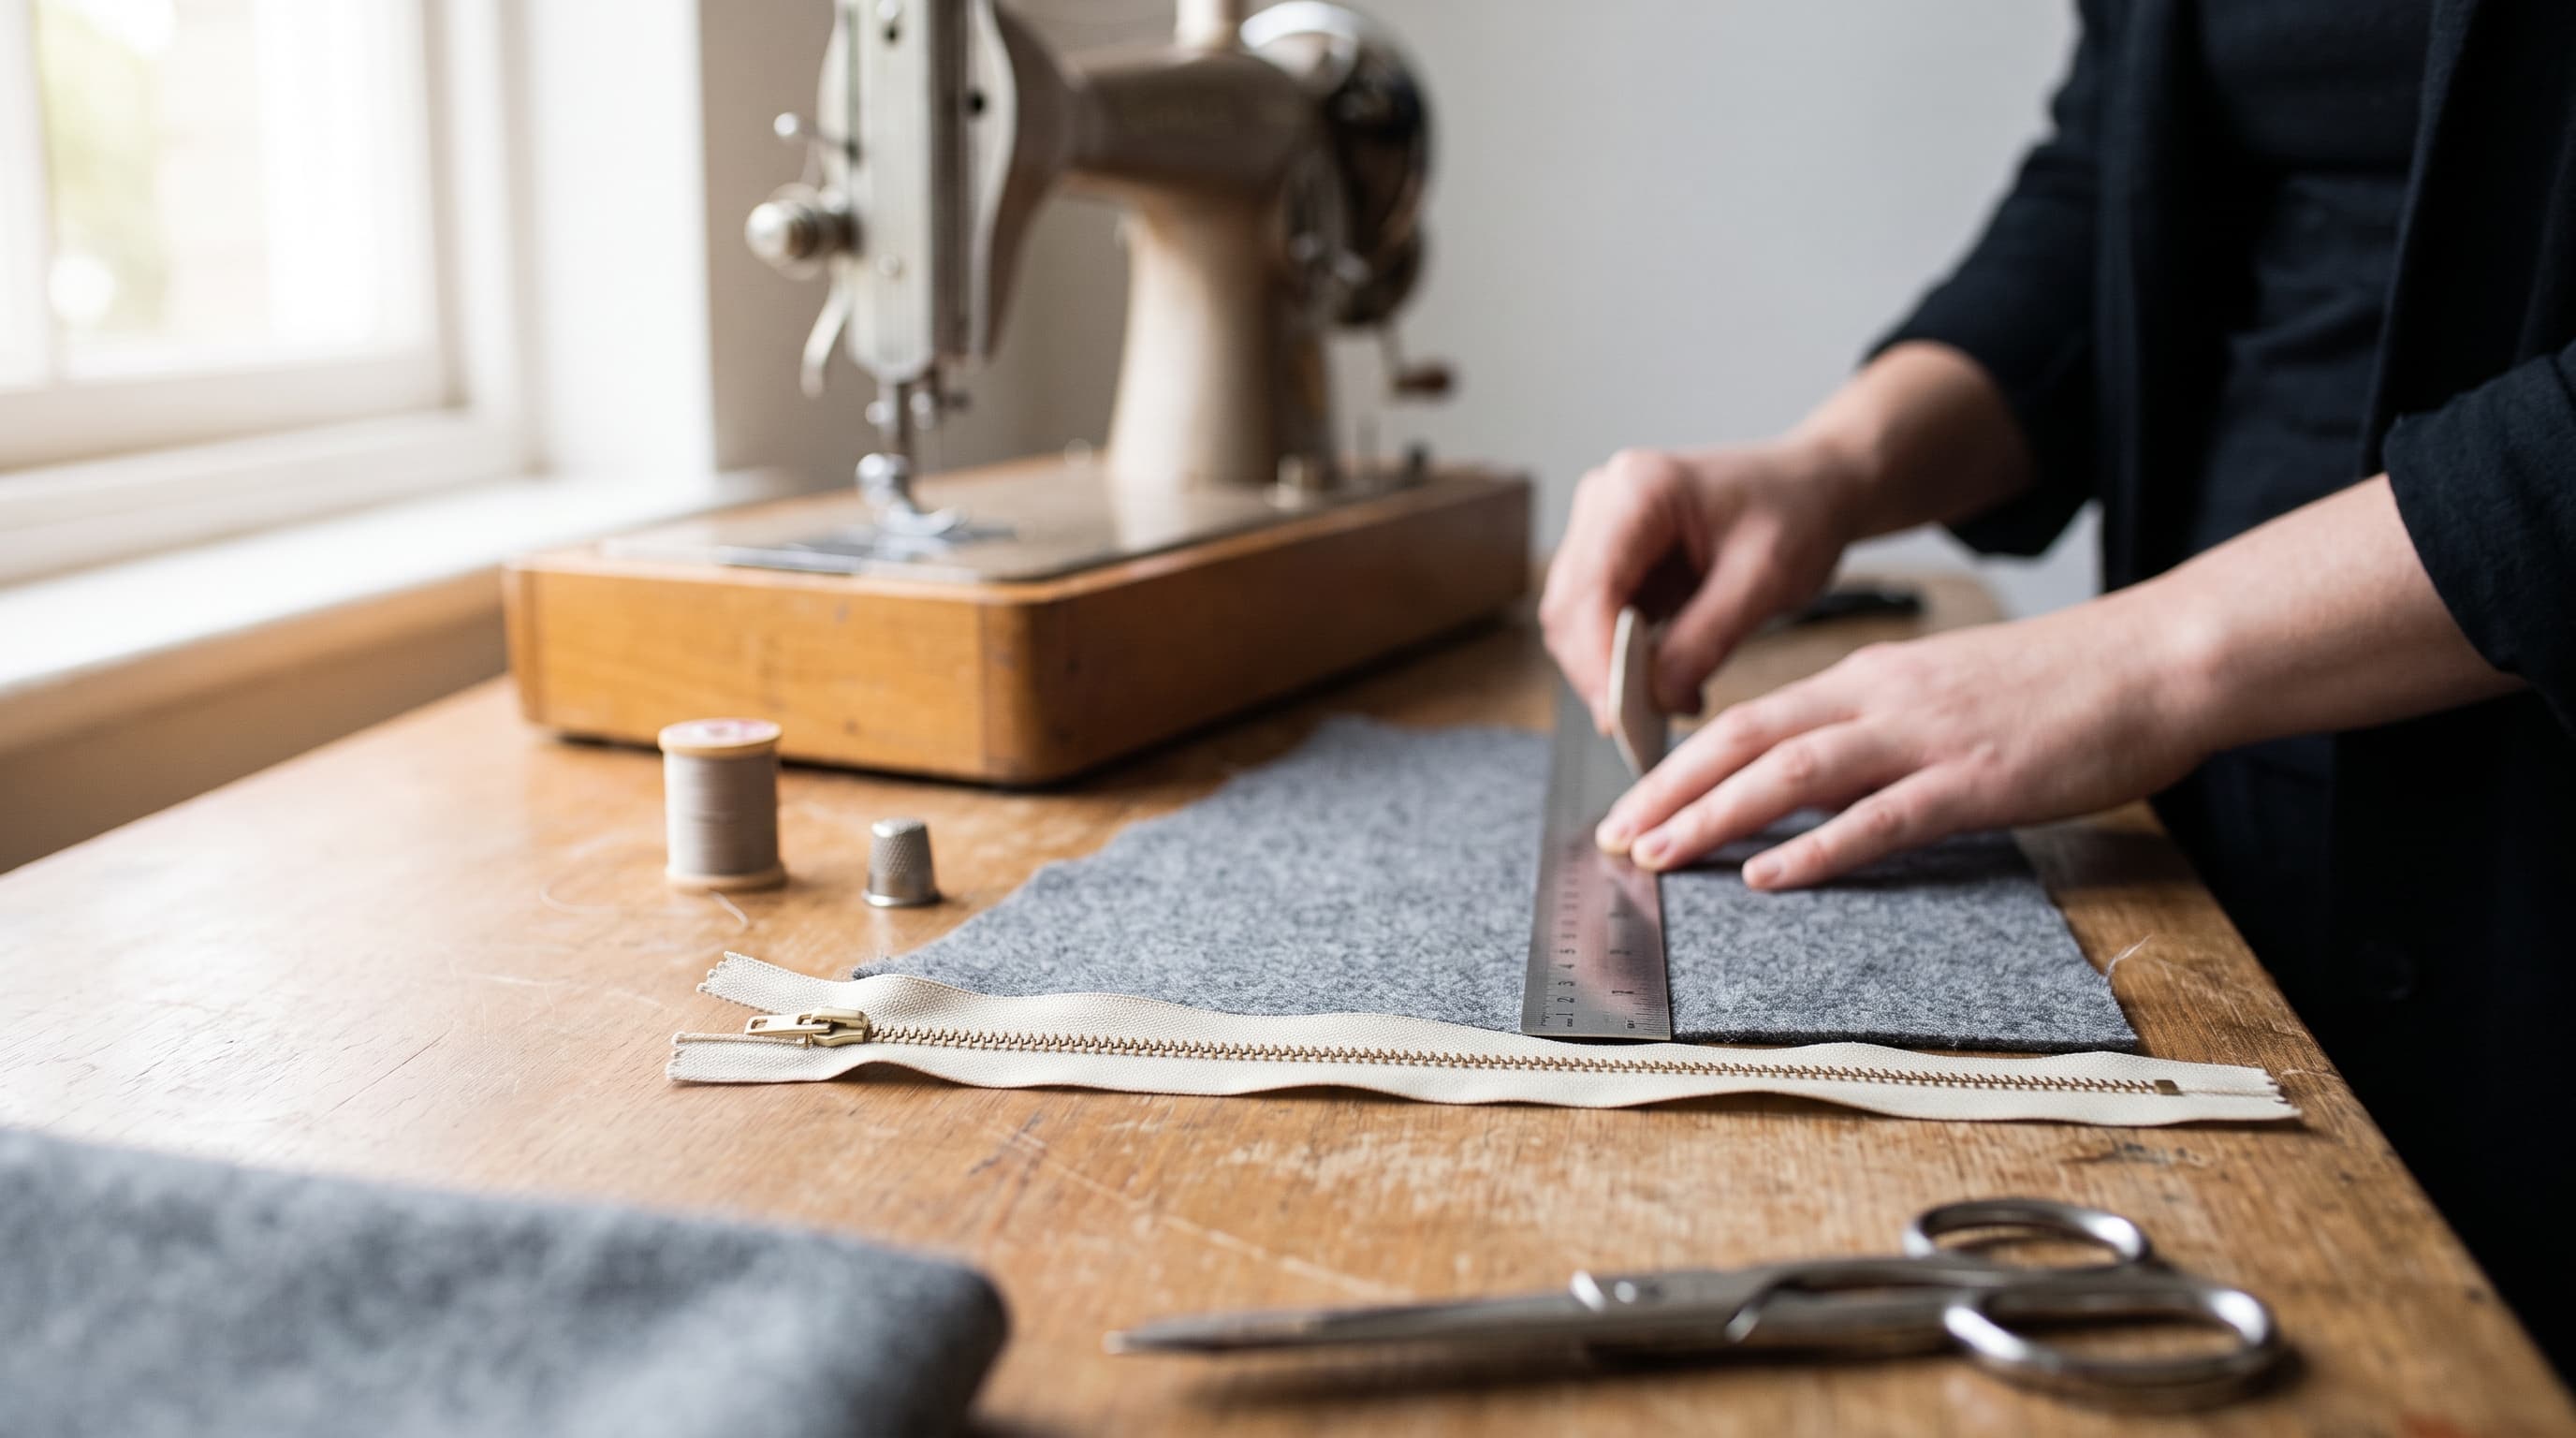
Testing reveals sewers who follow it finish projects faster with functional closures that do not jam. A simple measuring tape makes all the difference in the final look and functionality.
Properly sized openings eliminate the need to force excess fabric into tight corners, which often causes bunching. Accurate calculations prevent the slider from catching on loose threads.
Clearing Up a Common Misconception
Many think exact length matching is mandatory and zippers cannot be shortened reliably. Testing reveals you can mark the length, stitch a new bar tack, remove excess teeth, and create a new bottom stop.
Sewing both sides bottom-to-top in the same direction also prevents rippling, as recommended by sewing educators. Users report this flexibility makes repairs and upcycling far more approachable.
It means you can purchase a standard size and adapt it to any unique pattern requirement. Now that the benefits are clear, it is time to put these methods into practice.
How To Get Started
Getting started is straightforward with the right prep and order of steps. These practical techniques come from what actually works for most home sewers and deliver results in 20-45 minutes for beginners.
Preparing the Seam and Positioning
Baste the seam closed with long stitches first, press open, then center the closed zipper face-down over the seam before pinning or using tape. Double-sided sewing tape serves as a handy aid for accurate placement during this stage.
Users report that tape or basting instead of excessive pins reduces shifting on slippery fabrics and sets up cleaner final stitching. Ensure the zipper pull sits just below the top seam line for a clean finish.
Here is a quick sequence to prepare your fabric properly before touching the foot pedal. Following these guidelines makes the sewing phase effortless.
Preparation steps:
- Baste the seam — Use long stitches to hold the fabric together temporarily.
- Press open — Iron the seam allowances flat to create a clean channel.
- Position the tape — Center the zipper face-down and secure it with basting tape.
Stitching Both Sides the Right Way
Attach a zipper foot and sew 1/8 to 1/4 inch from the teeth, always keeping the zipper closed during stitching. Stop with needle down near the pull, lift the presser foot, slide the pull past, and resume.
Sew both sides from bottom to top to minimize rippling along the seam. Follow these standard settings for the best results on domestic machines.
| Setting | Measurement |
|---|---|
Topstitch Length | 2.5-3.0 mm |
Basting Length | 4.0-5.0 mm |
Distance from Teeth | 1/8 inch |
Bar Tack Width | 3-4 stitches |
Keeping consistent tension prevents the fabric from creeping forward as you sew. The zipper foot does most of the heavy lifting during this phase.
Finishing, Testing, and Final Touches
Test zipper operation fully after stitching one side and before removing basting stitches to catch issues early. Start topstitching at the bottom and work outward then upward on each side to reduce puckering at the base.
With practice these steps lead to great outcomes, and standard measuring tools offer extra precision in your sewing workflow. Inspect the right side of the garment for any caught threads.
Once satisfied, use a seam ripper to gently pull out the center basting stitches to reveal the working zipper. Even with solid steps, a few pitfalls can still appear if you are not careful.
Common Mistakes and Considerations
Most sewers hit a snag or two at first, but knowing the common ones lets users troubleshoot quickly and stay positive. Testing reveals simple adjustments fix the majority of issues.
Preventing Puckering and Waviness
Fabric puckering or waviness around the zipper often stems from creases or lack of stabilization on lightweight materials. Testing reveals that pressing zipper tape flat before installation and adding interfacing to seam allowances fixes this issue.
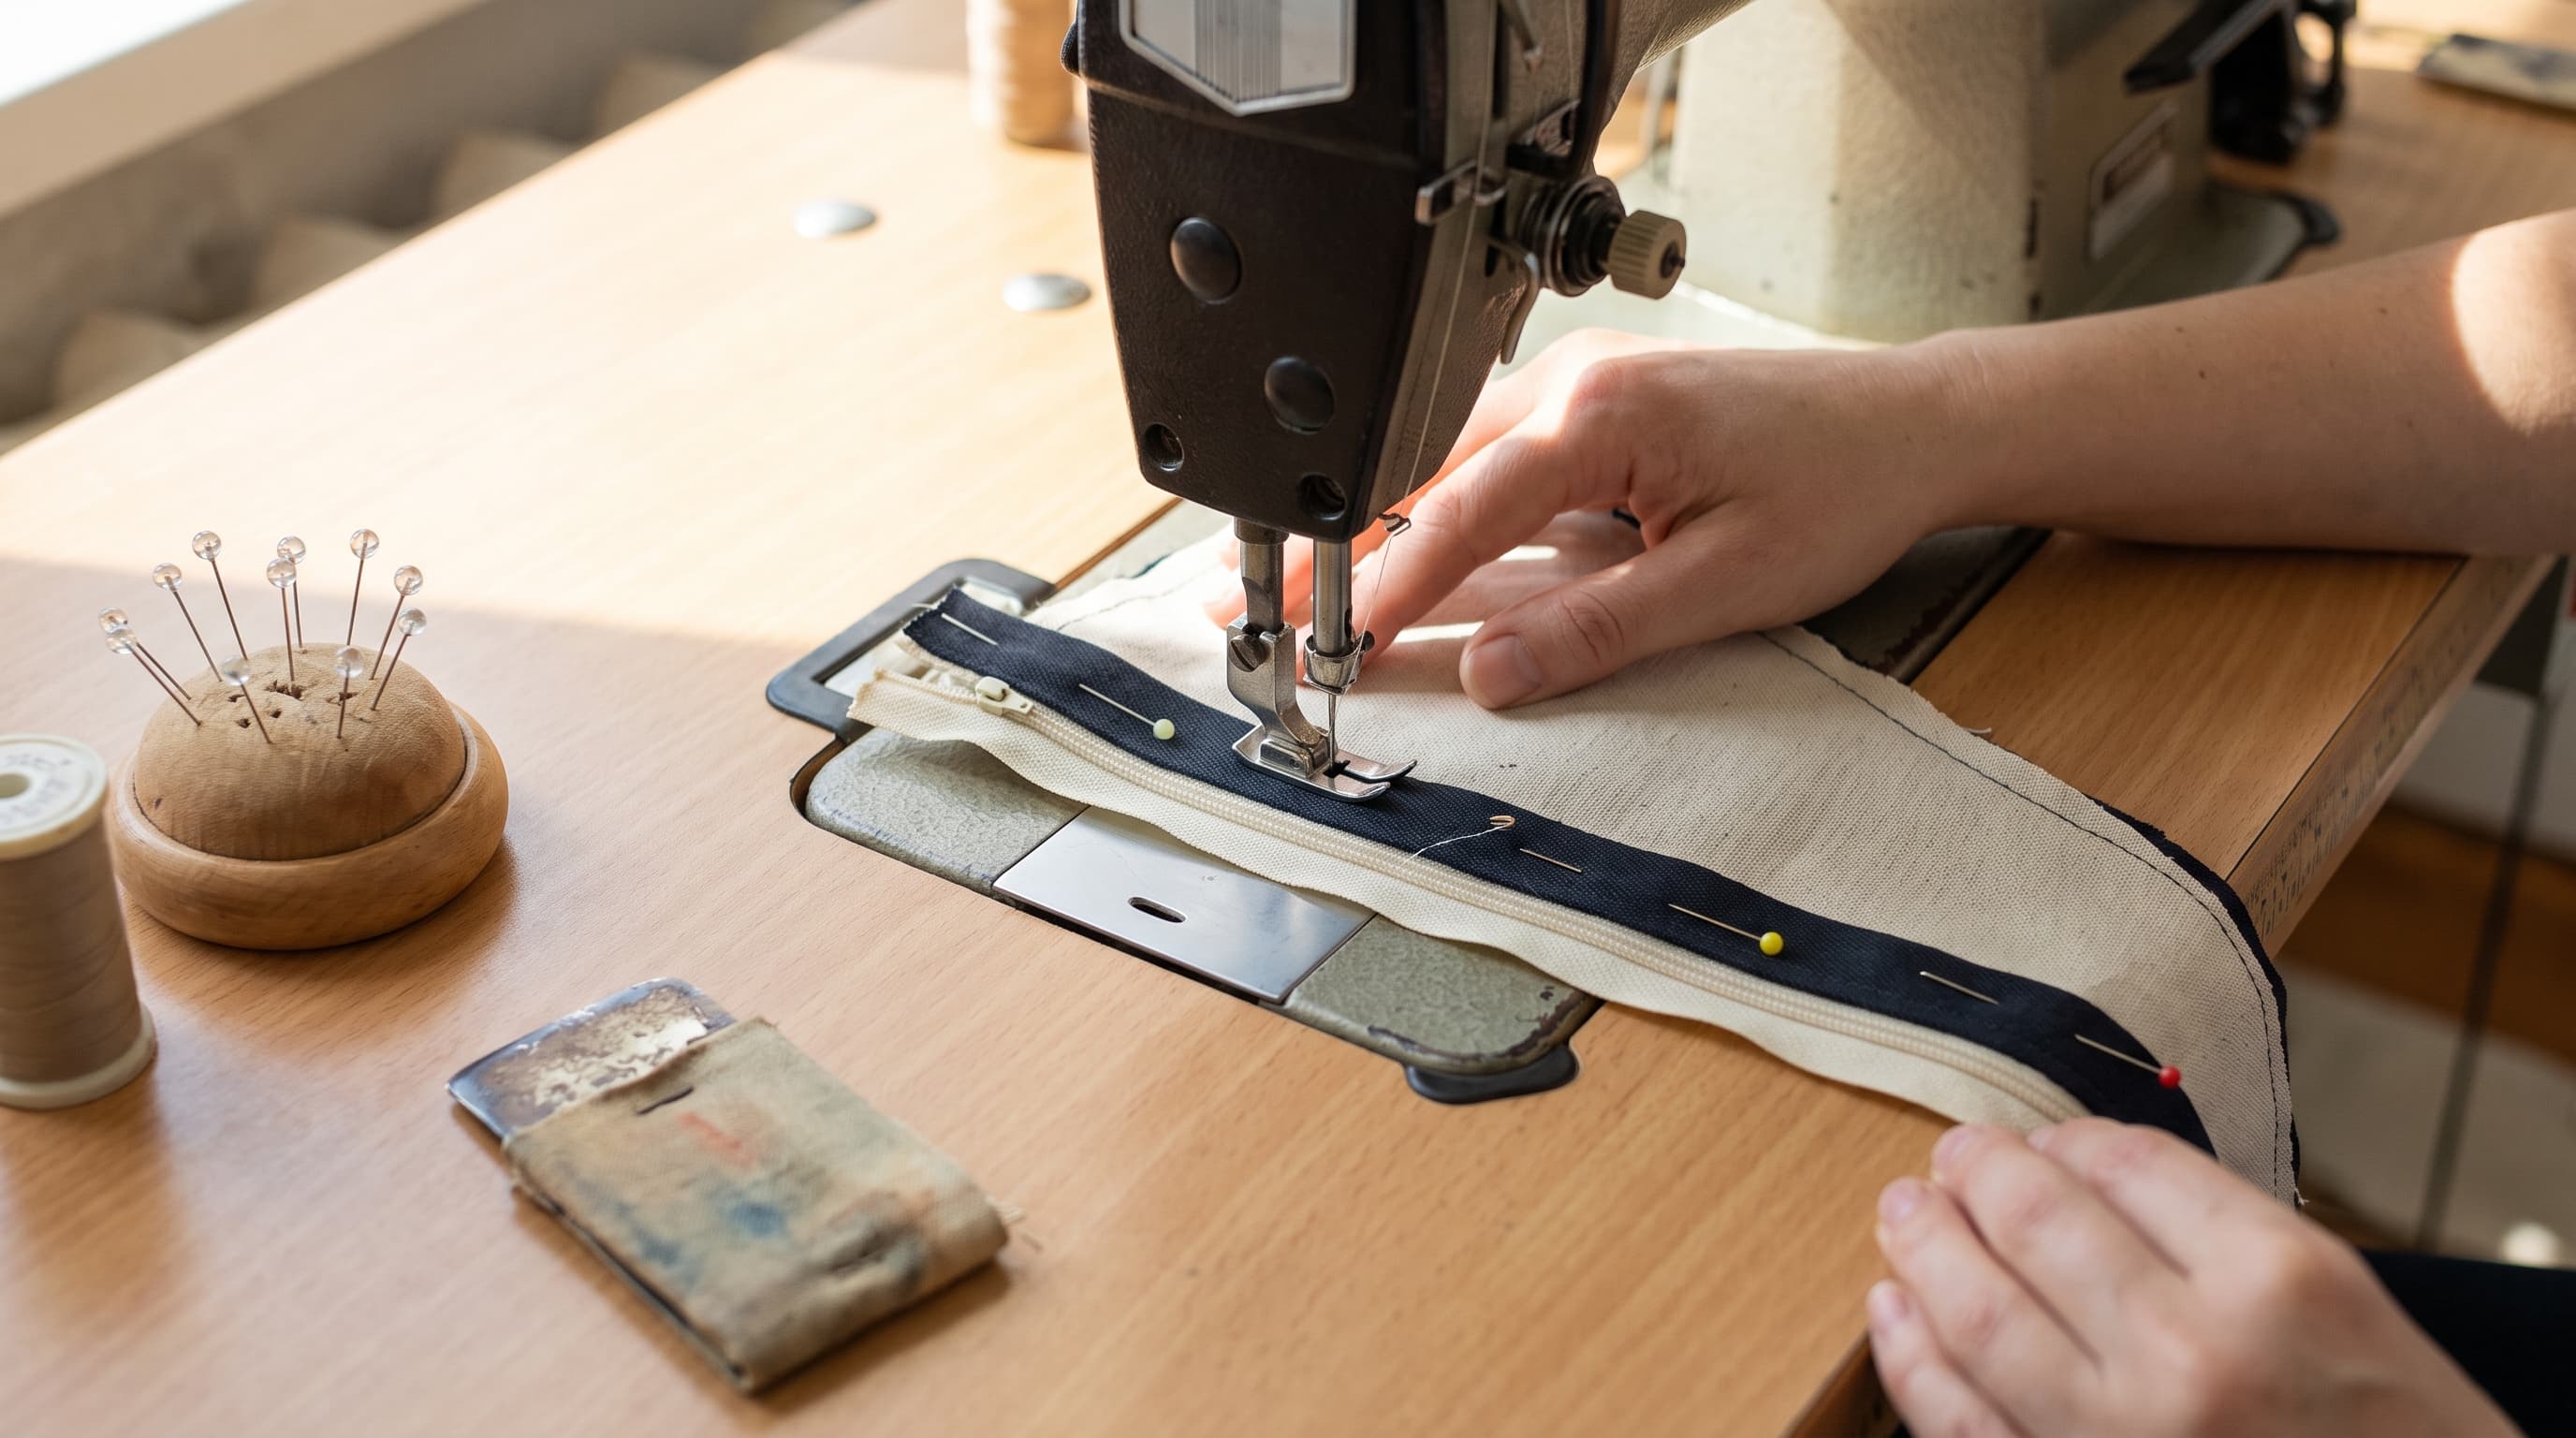
Users report far fewer ripples when they baste first and sew both sides in the same direction. Taking time to prep saves hours of seam ripping later.
Letting the feed dogs pull the fabric naturally without pushing or pulling also reduces unwanted tension. Smooth, guided feeding keeps the stitches balanced.
Dealing with Alignment and Pull Issues
Misaligned sides cause the zipper to twist or jam, especially across patterned fabric where seams must match. The zipper pull interfering with stitching is handled by stopping with the needle down, lifting the foot, and sliding it past.
Testing reveals that using basting stitches at 4.0-5.0 mm instead of pins alone keeps everything secure on tricky fabrics. Armed with these insights, users can tackle zippers with confidence on any project.
If a jam does occur, avoid yanking the fabric; instead, gently reverse the pull to free the trapped threads. These quick troubleshooting checks keep projects on track.
Troubleshooting tips:
- Check needle position — Ensure it clears the metal teeth to avoid breakage.
- Verify stitch length — Use appropriate lengths for the specific fabric weight.
- Examine the tape — Ensure the zipper tape lies flat before sewing.
FAQ
How do you sew an invisible zipper so teeth don't show?
You sew each tape to the seam allowance with teeth facing out and zipper open, then close the seam afterward. Users report a standard 1/8 inch distance from the coils and pressing them flat first creates the hidden effect.
Testing reveals this order plus a dedicated invisible foot delivers sleek results that make garments look professionally finished. It leaves only a tiny teardrop pull visible on the outside.
What is the easiest zipper method for complete beginners?
The centered on-seam method stands out as the friendliest starting point for newcomers. You baste the seam, press it open, center the closed zipper, and topstitch both sides bottom to top.
A typical beginner spends 20-45 minutes on this using 4.0-5.0 mm basting stitches. Keeping the zipper closed during sewing avoids misalignment and delivers a neat finish.
How do I shorten a zipper that is too long for my project?
You can mark the desired length, then stitch a new bar tack or crimp a metal bottom stop with pliers to remove extra teeth and coils. Testing reveals this works reliably for both closed and separating styles.
The new stop should sit at the exact point needed for the opening plus a 5/8 inch allowance. You simply trim the excess tape below the new stop.
Why does my zipper installation pucker or wave and how do I fix it?
A lack of pressing or interfacing often causes puckering on lightweight or stretch fabrics. The fix involves adding fusible interfacing to seam allowances and sewing consistently from bottom to top.
Users report basting first then removing stitches after testing prevents unwanted tension marks. Smoothing the fabric as you feed it through the machine also helps keep seams flat.
Should the zipper be open or closed while sewing?
For centered zippers, keep it closed to maintain alignment on both sides of the fabric. For invisible styles, you must keep it open to stitch close to the coils.
Testing reveals this choice, combined with stopping to slide the pull past the needle, avoids jams. You should sew at 2.5-3.0 mm for the permanent stitches.
How do I match seams or patterns perfectly across the zipper?
Start by basting the seam first to align patterns, then place the closed zipper precisely over the pressed-open seam. Users report pinning or using tape at key matching points before stitching prevents one side sitting higher.
Testing the function before removing the basting stitches ensures the pattern lines up correctly. Taking it slow at the intersections yields a flawless look.
Do I need a special foot for every zipper style?
A standard zipper foot handles centered and lapped styles well, while an invisible foot helps specifically with coil concealment. Testing reveals you do not need a unique foot for every single project.
The offset design of a standard foot lets you stitch 1/8 inch from the teeth safely. Starting with basic equipment still yields great, reliable results.
How do you sew a zipper by hand if you don't have a machine?
You can use a backstitch or whipstitch close to the teeth after basting the zipper in place, though it takes longer than machine sewing. The top stop should sit 5/8 inch below the neckline or waist.
Users report this method works great for small repairs and gives a neat, hand-finished look. A thimble helps push the needle through the thicker tape sections.
Related Articles

ISO Aperture Shutter Speed Mastery: Gain Creative Control
Hobbies5 min read

Calligraphy Pens for Beginners: Build Mindfulness and Reduce Stress in 8 Weeks
Hobbies5 min read
Knit vs Purl Stitch: A Positive Beginner’s Guide to Mindful Stitching for Stress Relief
Hobbies5 min read
Calligraphy For Beginners: How 15 Minutes Daily Builds Mindfulness, Focus, And Real Progress
Hobbies5 min read

Golden Hour Photography Tips: 6 Easy Techniques For Gorgeous Photos And A Calmer Mind
Hobbies5 min read

The 6 Best Cameras for Photography Beginners to Build a Mindful Wellness Habit in 2026
Hobbies5 min read
Comments
(0)Leave a comment
Your email will not be published. All fields are required.