How to Sew a Button in 5-10 Minutes: Building Self-Reliance One Stitch at a Time
By: Nord Time Editorial
Fact checked by: QA Team
Updated on: September 24, 2026
0
687
9 min
In this article
- Understanding How to Sew a Button
- How It Works
- Benefits and What The Evidence Shows
- How To Get Started
- Common Mistakes and Considerations
- FAQ
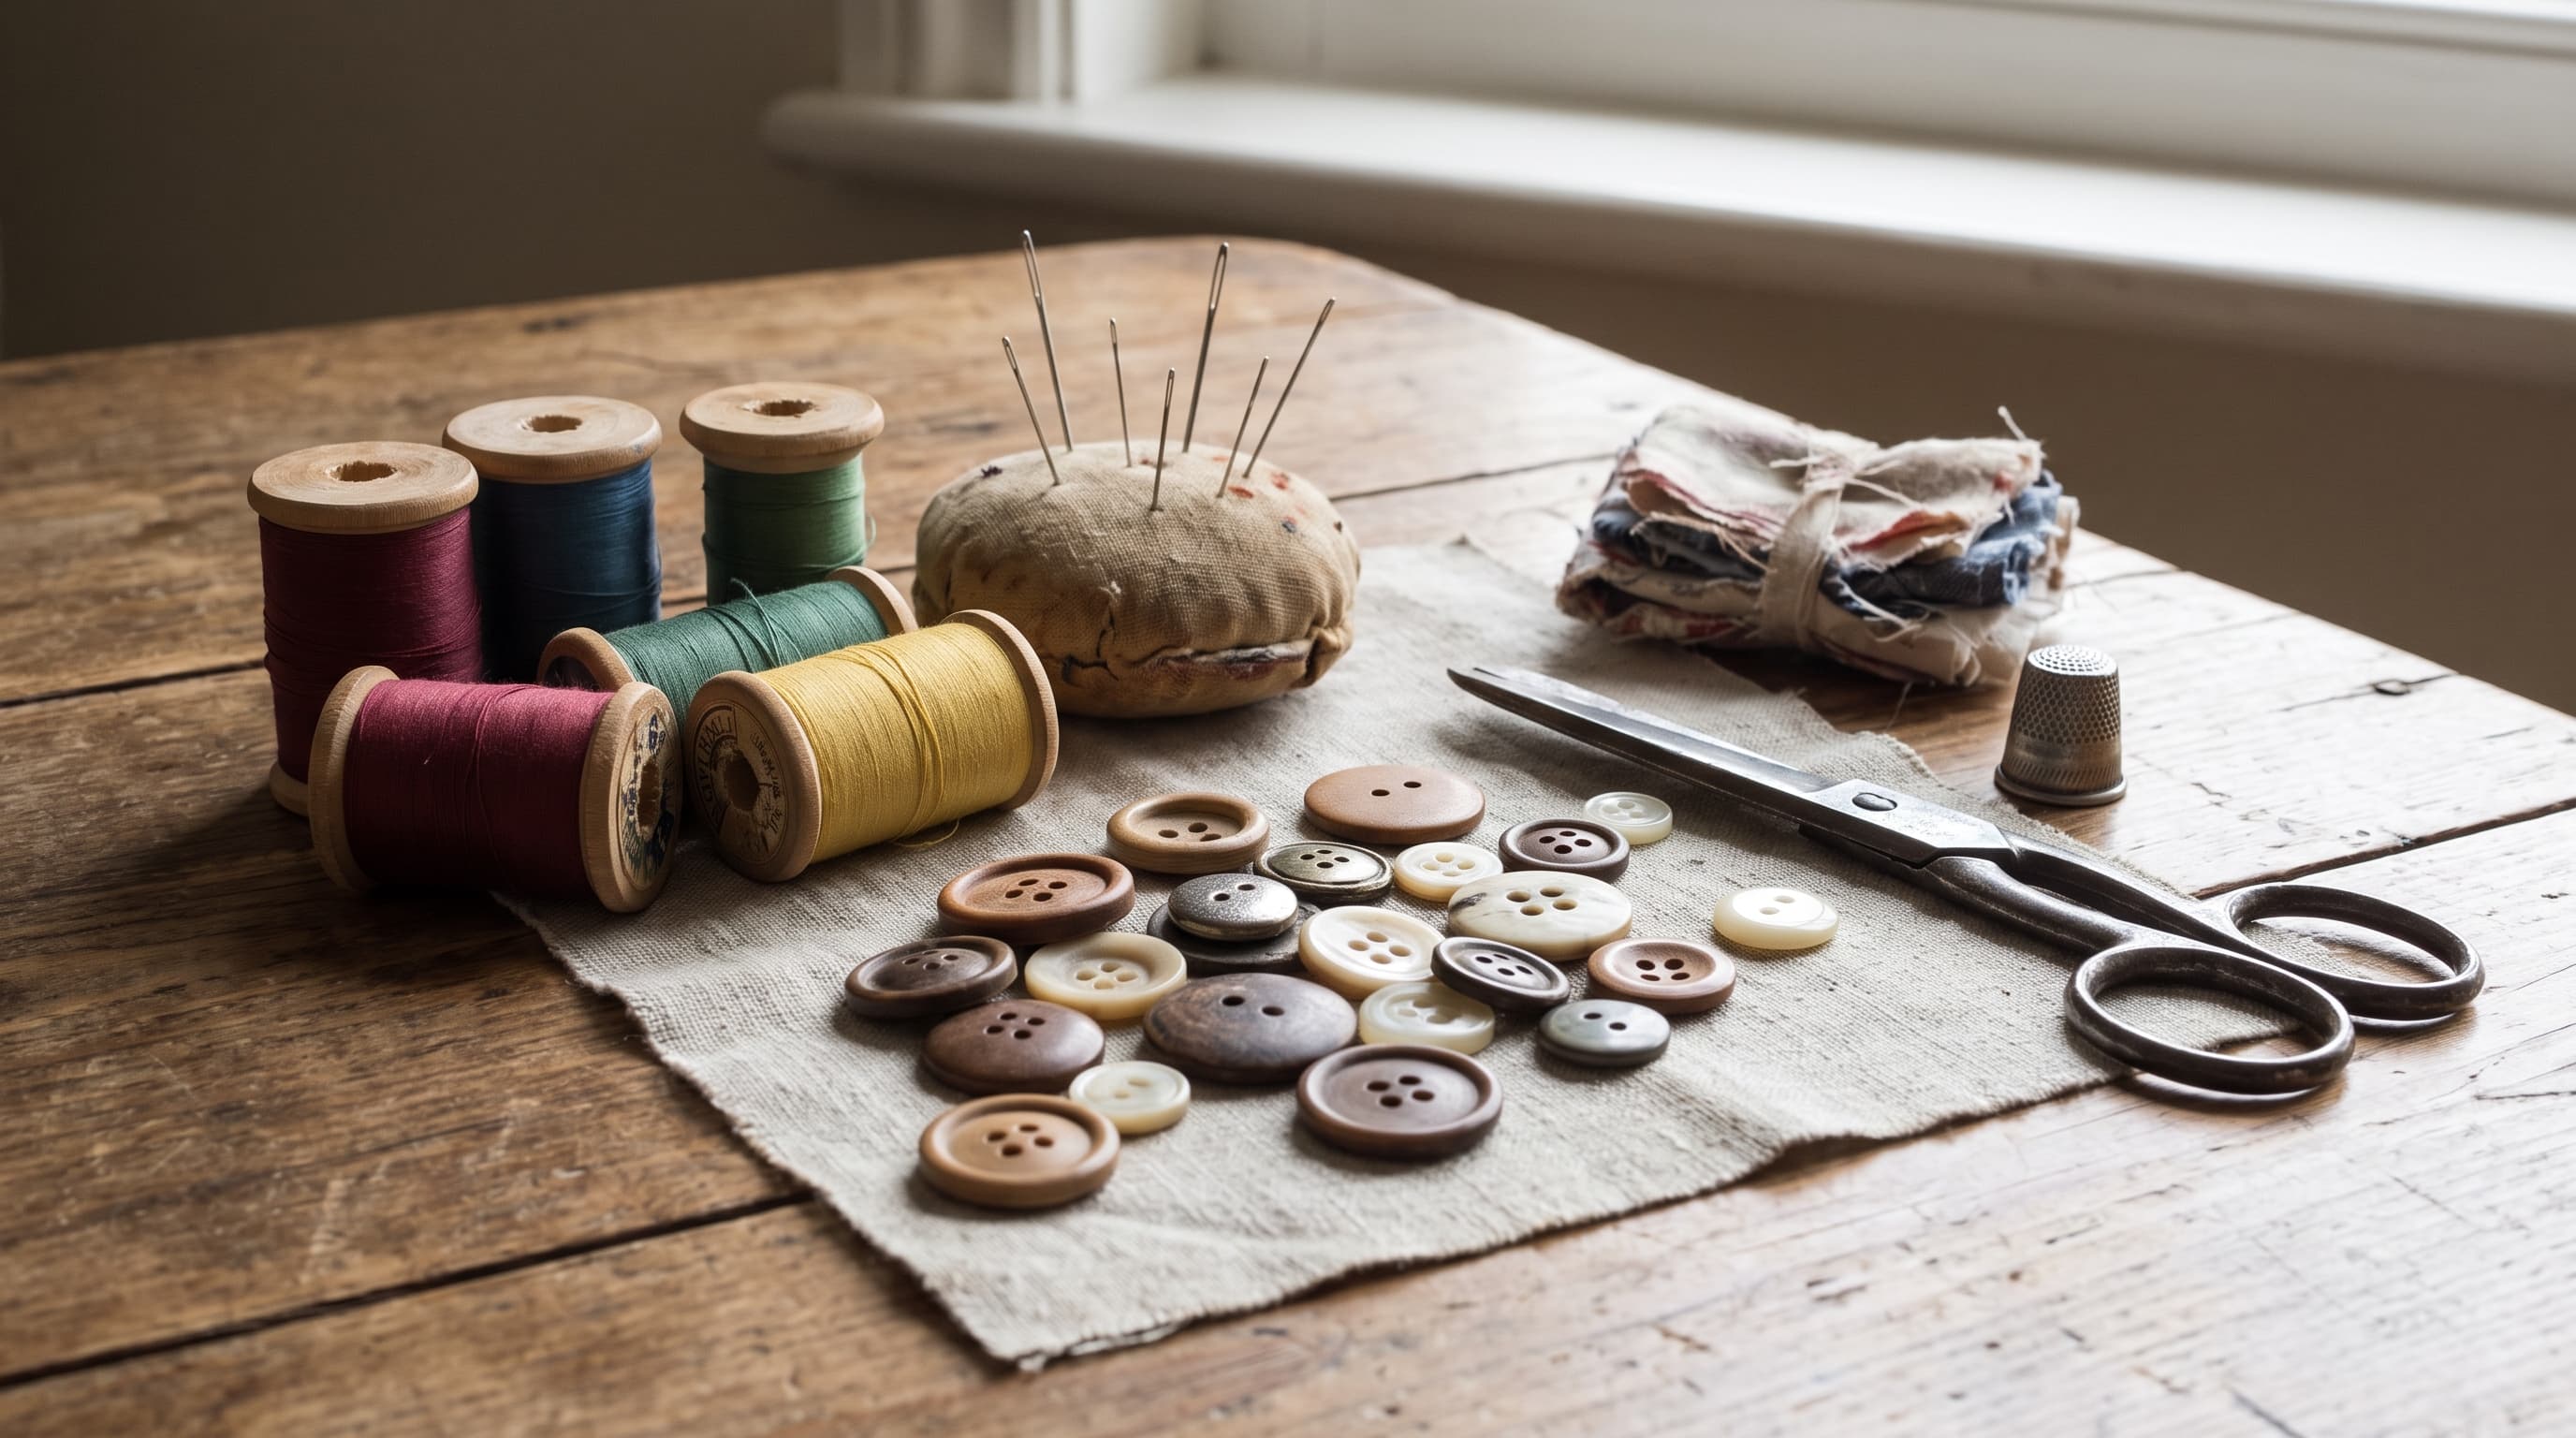
A button pops off right before work and suddenly that favorite shirt is sidelined. It is a frustrating moment that often leads to clothing sitting unworn in the closet for months.
This guide explains how to sew a button using straightforward hand-sewing steps for two-hole, four-hole, and shank styles. These techniques create repairs strong enough to survive laundry and daily wear.
Testing reveals that mastering this quick fix builds real confidence and cuts down on wasteful replacements. Turning a small repair into a routine habit supports both sustainability and practical self-reliance.
Understanding How to Sew a Button
Users searching this topic are usually beginners hit with sudden wardrobe malfunctions on shirts, pants, or jackets. Learning how to sew a button offers quick, lasting fixes that support sustainable habits instead of tossing clothes.
Who Benefits Most From This Skill
Beginners, busy adults facing button emergencies, parents teaching kids, and sustainable fashion fans all gain from this. Users report it beats the pain of repairs that fail fast or uncertainty about shank spacing that leads to puckering.
According to the Levi’s Wear Longer Project survey (2026), 41% of Gen Z lack basic clothing repair skills. Picking up this knowledge builds self-reliance fast and prevents wearable garments from hitting the landfill.
Why It Matters for Daily Life and Wellness
The process delivers quick secure reattachments that save favorite garments and reduce consumption. Testing reveals it aligns with goals like building basic sewing confidence during weekend mending sessions or mindful crafting routines.
Parents especially like it as a practical life skill for kids that promotes self-reliance without needing specialized equipment.
Now that the core audience and benefits are clear, let's explore the mechanics that make these repairs actually last.
How It Works
Testing reveals success comes down to a few core ideas rather than random stitches. This section explains them in plain terms so beginners avoid common errors and get durable results every time.
Building a Thread Shank for Room to Breathe
Wrapping thread under the button creates a small stem that lifts it slightly so the buttonhole side fits without strain or puckering. Users report skipping this step causes tight fits and fast failures during wear or washing.
Testing reveals using a toothpick or pin as a spacer while stitching gets the height right for longevity. Simply slide the pin between the button and the fabric before making the first pass.
This hidden foundation allows the thick garment fabric to sit perfectly flat under the fastened button.
Anchor Stitches That Lock Everything In Place
A couple of small stitches on the fabric's backside before attaching the button stop the thread from pulling through no matter how much tugging happens. This counters the misconception that sewing flush to the fabric without an anchor works fine.
Creating a solid foundation first secures the entire structure against the stress of buttoning. Testing reveals that placing two to three tiny stitches in the exact same spot prevents the common pain point of buttons popping off again quickly.
Stitch Patterns That Spread Out the Stress
On four-hole buttons, the cross X pattern distributes pulling force evenly for better durability than parallel lines. Using a double thread halves the required passes while doubling the overall strength of the attachment.
Most tutorials recommend six to eight passes through the holes for shirts, or slightly more for heavy coats. Users report matching the existing garment patterns gives a professional look that holds up well.
Consistently hitting the same holes prevents messy thread build-up on the surface. These mechanics deliver practical upsides backed by clear evidence.
Benefits and What The Evidence Shows
Let's be real, attaching a button feels like a small win, but it stacks up over time. Research shows ties to confidence, usefulness, and even mindful habits, all while correcting a few mending myths along the way.
Growing Self-Efficacy Through Hands-On Mending
Learning basic sewing skills including button attachment increased self-efficacy in adolescent girls over five weeks, per a University of Oregon study (2022). Busy adults and parents report the same boost in daily self-reliance when they fix clothes instead of buying new.
This positive outcome turns inconvenient button pops into opportunities for empowerment and sustainable routines. Completing a physical repair task provides immediate tangible feedback that builds competence.

Everyday Usefulness and Sustainability Wins
Research from Ibaraki University (2016) found that 96% of university students viewed hand-sewing skills like attaching buttons as useful in daily life. This supports repairing over replacing to cut consumption and decision fatigue in capsule wardrobes.
Testing reveals it corrects the misconception that a single strand of thread suffices for heavy wear. Double polyester thread lasts longer through intense laundry cycles, securing the sustainability win.
Mindful Crafting Ties to Positive Mood
Broader crafting and repetitive handwork such as sewing can support flow states, positive mood, and stress relief. This is summarized in Lambert's research from a 2026 San.com article on traditional grandma hobbies.
While button-sewing evidence is indirect, procedural instructions work well for adult learning according to ERIC Technical Report No. 543 (1991). Users report it fits nicely into self-care sessions that build lasting confidence.
With the benefits clear, here is exactly how to get started using practical steps that deliver results.
How To Get Started
The whole process takes just five to ten minutes once the right supplies are ready. These steps use exact numbers and proven tips so beginners nail the repair on the first try.
Prep Your Tools With These Exact Specs
Cut 18 to 24 inches of thread and double it for strength, then rub with beeswax to fight tangling and boost wear resistance. Choose a polyester spool over cotton and always create anchor stitches on the back first.
Using a quality spacer helps create the perfect shank height without any guesswork. Here is a breakdown of the essential tools needed for this task.
Required mending supplies
- Polyester thread — stronger than cotton for daily wear and washing.
- Sharp hand needle — easily pierces woven fabrics without leaving large holes.
- Toothpick or pin — acts as a reliable temporary spacer for the thread shank.
- Beeswax — coats the thread to prevent tangling during the sewing process.
Stitching Different Button Types Step by Step
For two-hole buttons, pass the needle six to eight times after anchoring the thread. For four-hole versions, use an X pattern with four to six passes per pair to match other garment buttons and spread stress.
Mark the placement carefully against the buttonhole first to ensure perfect alignment. Testing reveals this prevents the fear of damaging the fabric or looking unprofessional on everything from silk to heavy denim.
| Button Type | Recommended Passes |
|---|---|
2-Hole Button | 6-8 passes |
4-Hole Button | 4-6 per pair |
Heavy Coat | 8-10 passes |
Forming the Shank and Tying It Off
After stitching, bring the needle under the button and wrap the thread three to five times around the base to form the shank. Knot it on the back by looping through prior stitches two to three times before trimming.
Test the attachment by tugging and buttoning the garment repeatedly. Users report this creates repairs that last through washing and builds real sewing confidence fast.
Even solid techniques have pitfalls, so knowing what to watch for keeps the results strong and stress-free.
Common Mistakes and Considerations
Testing reveals beginners often hit the same snags that make buttons pop off again. This section flags the big ones with quick fixes so the mending process feels effortless and effective.
The Shank and Tightness Traps to Dodge
Sewing without a shank or sewing too tightly creates tension that puckers the fabric and shortens the repair life. This runs contrary to the common belief that a flush attachment is completely fine.
Always use a spacer for proper height and avoid excessive stitches that bulk up the area. Consider the fabric weight, as lighter silk needs gentler handling than thick wool coats.
Thread, Pattern, and Fabric Realities
Single thread wears out fast, so always double up on polyester and match the X or parallel patterns to the garment. University extension materials like UF/IFAS 4H414 call this a core life skill worth practicing on scraps first.
Testing reveals these adjustments prevent unprofessional results across different materials. Getting this right supports the wellness of mindful weekly wardrobe care.
Master these basics and handling any loose fastener becomes easy, giving that satisfying self-reliant glow.
FAQ
How many times should you stitch through the button holes?
Most experts recommend six to eight passes for shirts or eight to ten for heavier coats. Using a doubled 18 to 24 inch thread gives 12 to 16 strands of holding power through the laundry.
Testing reveals this volume combined with a solid shank stops the button from falling off repeatedly.
What is a thread shank and how do I make one?
The thread shank is a wrapped stem under the button that lifts it for comfortable buttoning without straining the fabric. Create it by using a toothpick spacer during stitching, then wrapping the thread three to five times around the base afterward.
Users report this fixes puckering and delivers professional results that last. Testing shows it is essential for two-hole, four-hole, or shank buttons.
Should I use single or double thread?
Double thread is far better as it doubles strength and cuts stitching time in half. It resists wear better than a single strand, which the research notes wears out quickly under stress.
Rub the doubled thread with beeswax for extra durability through washes. This choice supports sustainable mending goals and builds confidence fast.
How do I sew a four-hole button in an X pattern?
Anchor the thread first, then stitch diagonally to form an X that distributes force evenly. This provides greater durability than parallel lines and often matches the other garment buttons.
Pass the needle four to six times per pair after using a spacer for the shank. Testing reveals this prevents quick failures and gives polished results.
Why does my button keep falling off after sewing?
Common culprits are a missing shank, using single thread, or tying weak knots that fail to survive tugging or washing. Fix this by incorporating three to five wraps for the shank and using double polyester thread.
Always finish with two to three loop knots on the back. Users report these changes create repairs that truly last, turning frustration into self-reliant wins.
Can you sew on a button using a sewing machine?
Yes, using a button foot and a zigzag stitch works well, but hand sewing offers better control for beginners. The mindful flow of hand work also supports wellness and relaxation.
Most guides emphasize hand methods using 18 to 24 inches of thread since they are accessible anywhere. This fits weekend mending sessions perfectly.
What is the best thread and needle for sewing buttons?
Polyester thread doubled and waxed for tangle resistance beats cotton for longevity through repeated laundry cycles. Pair this with a standard sharp needle designed for woven fabrics.
Cut 18 to 24 inches to start the process. Testing reveals this combination avoids the misconception of single thread sufficiency and helps repairs hold for years.
How do I tie a secure knot on the back?
After forming the shank, pass the needle through the anchor stitches on the back to form a loop. Pull the thread tight through this loop two to three times, then trim it close to the fabric.
This technique from life skills resources like the UF/IFAS Extension prevents pull-outs. Users report it makes all the difference for repairs that survive daily use.
Related Articles

ISO Aperture Shutter Speed Mastery: Gain Creative Control
Hobbies5 min read
Calligraphy Pens for Beginners: Build Mindfulness and Reduce Stress in 8 Weeks
Hobbies5 min read
Knit vs Purl Stitch: A Positive Beginner’s Guide to Mindful Stitching for Stress Relief
Hobbies5 min read
Calligraphy For Beginners: How 15 Minutes Daily Builds Mindfulness, Focus, And Real Progress
Hobbies5 min read

Golden Hour Photography Tips: 6 Easy Techniques For Gorgeous Photos And A Calmer Mind
Hobbies5 min read

The 6 Best Cameras for Photography Beginners to Build a Mindful Wellness Habit in 2026
Hobbies5 min read
Comments
(0)Leave a comment
Your email will not be published. All fields are required.